Magnetic Calibration
The Magnetic calibration page gives users the ability to manage Subsonus Tag’s magnetic calibration. This is crucial for accurate heading.
3D calibration involves rotating through all orientations and is designed for vehicles that can easily and safely be rotated upside down, such as small ROVs. 3D calibration offers slightly better performance and is recommended where possible. 2D calibration involves one level rotation about the Z axis and is designed for vehicles that cannot easily or safely be turned upside down, such as boats.
Please note that if Subsonus Tag is going to be used in a vehicle or vessel, the calibration should be performed while the Tag is mounted in and fixed to that vehicle. This means that the whole vehicle must be moved to perform the calibration. The calibration needs to be performed in an area as far away as practical away from sources of magnetic interference. For example, if Subsonus Tag is installed on an ROV, the calibration should not be done on a steel deck or over reinforced concrete etc. If Subsonus Tag is being calibrated to operate standalone, the calibration should not be done on a desk with a steel frame.
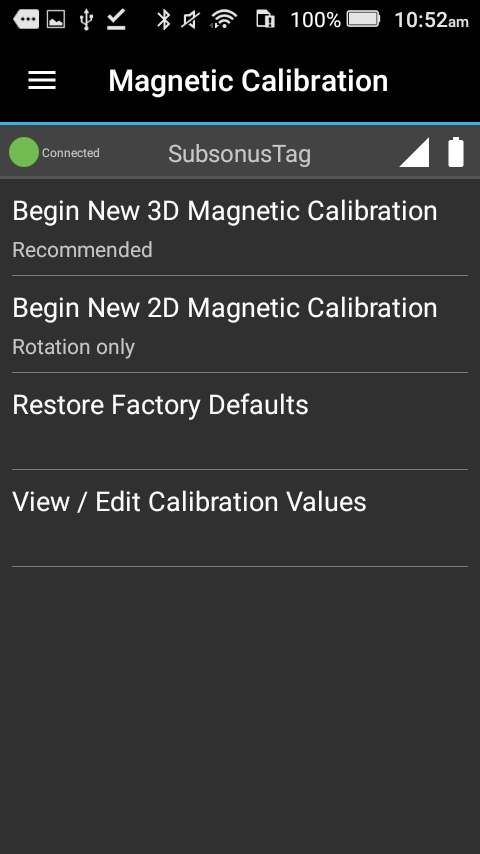
Begin New 3D Magnetic Calibration
Perform a 3D calibration by following the steps in the Tag Manager application. Rotation about 3 axes will be required, so ensure the object or Tag is free to move.
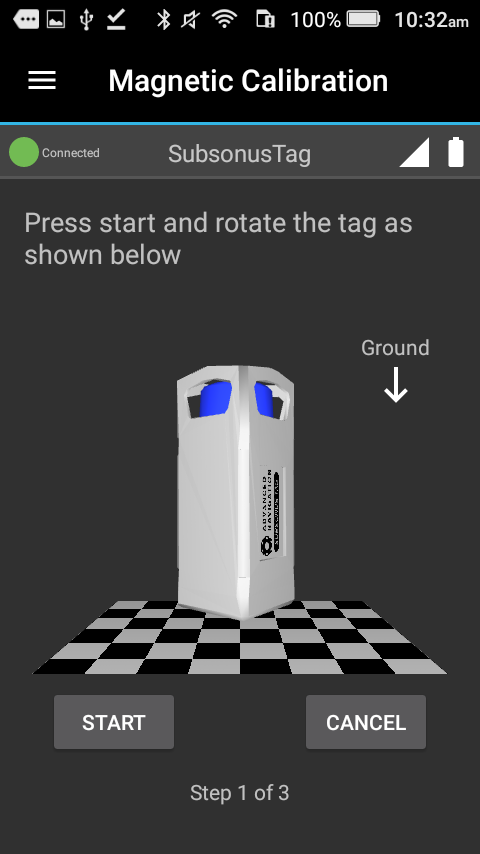
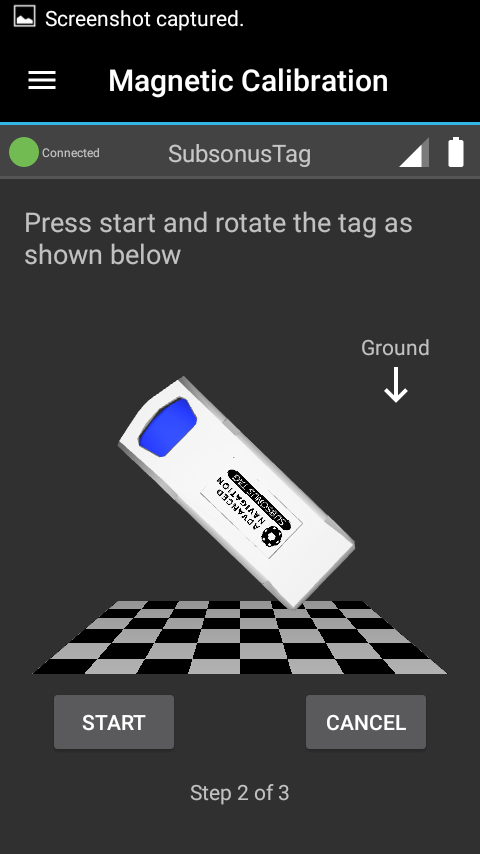
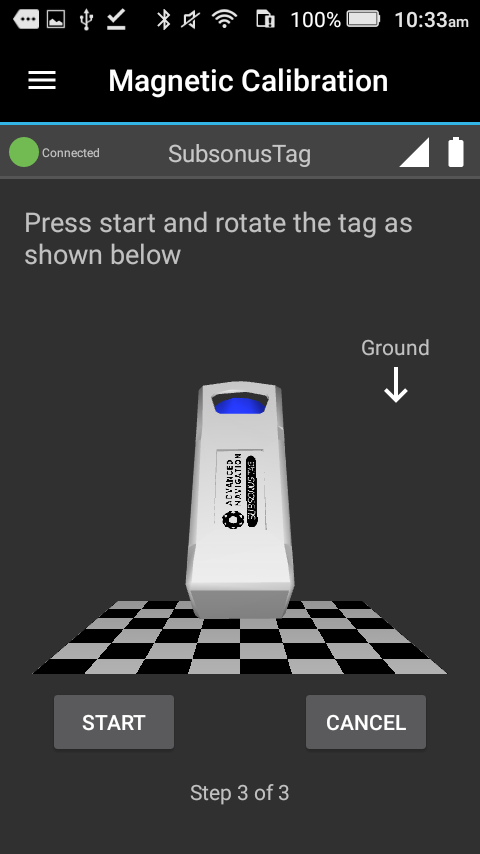
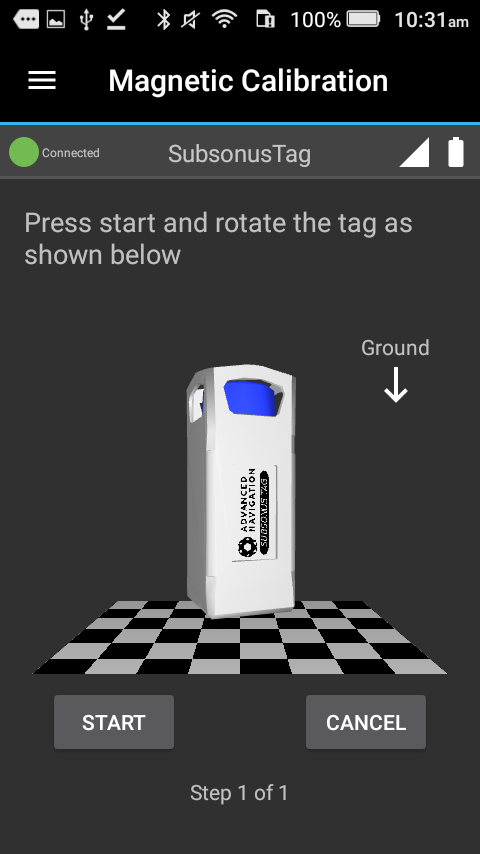
The Calibration procedure will display how the Tag is to be rotated for each step before starting, as shown in 3D magnetic calibration Z-axis start, 3D magnetic calibration X-axis start and 3D magnetic calibration Y-axis start. On these pages, press “Start” to begin.
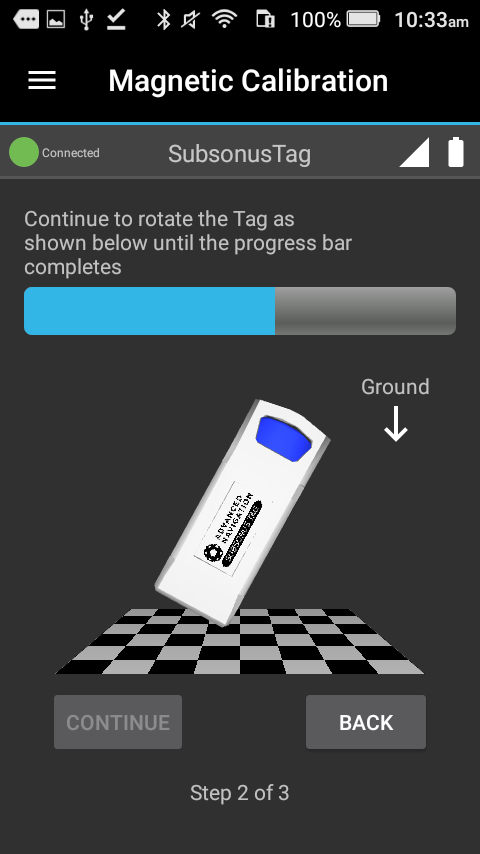
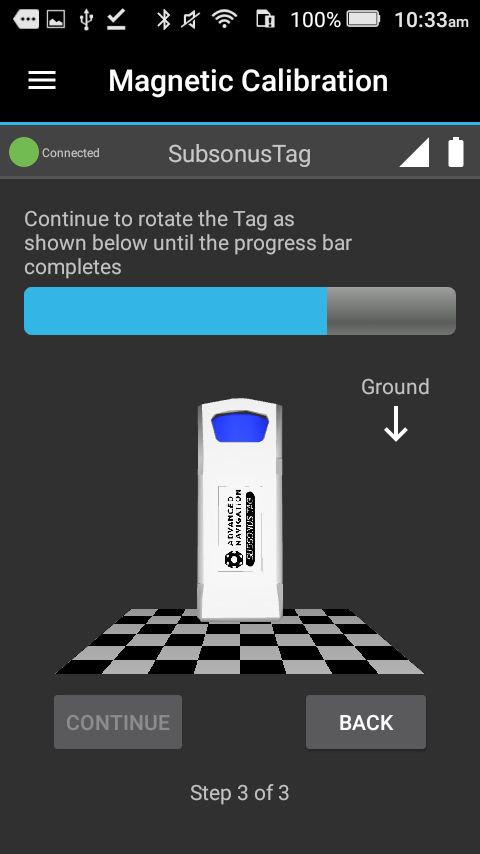
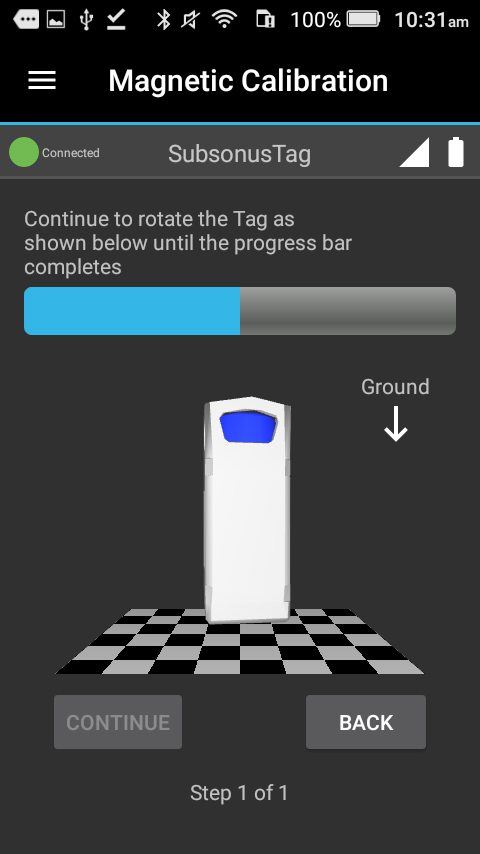
A progress bar is displayed for each step, as shown in illustrations 3D magnetic calibration Z-axis progress, 3D magnetic calibration X-axis progress and 3D magnetic calibration Y-axis progress. Continue to rotate until the calibration step completes, then press “Continue”.
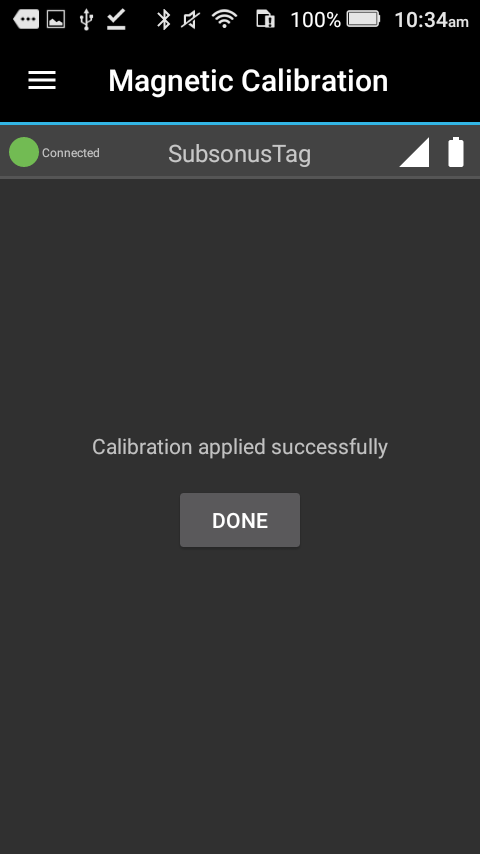
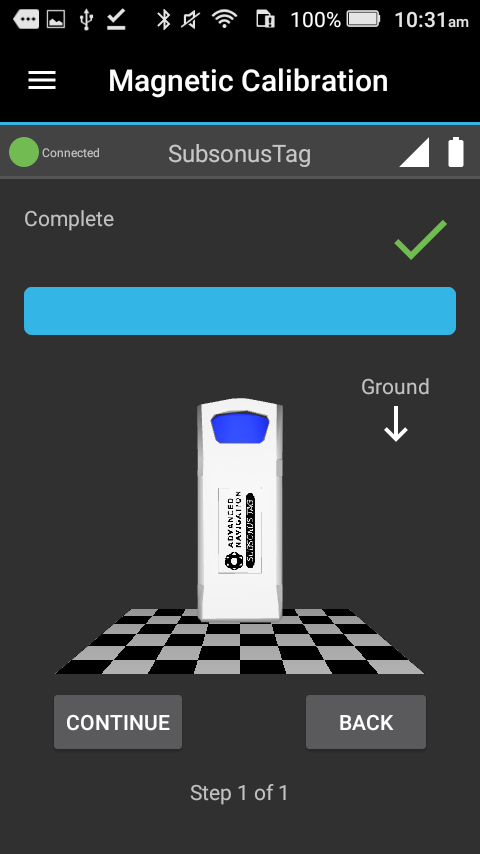
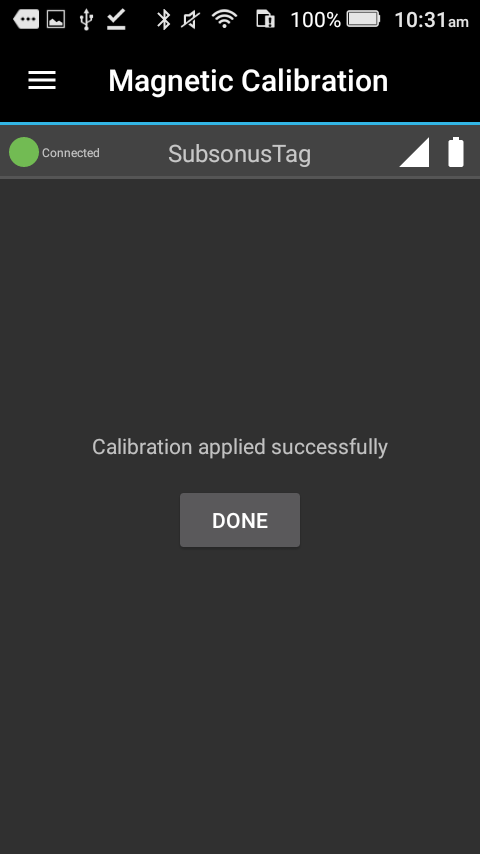
When the final step is completed, press “Continue” to apply the calibration. The screen in 3D magnetic calibration applied will be displayed.
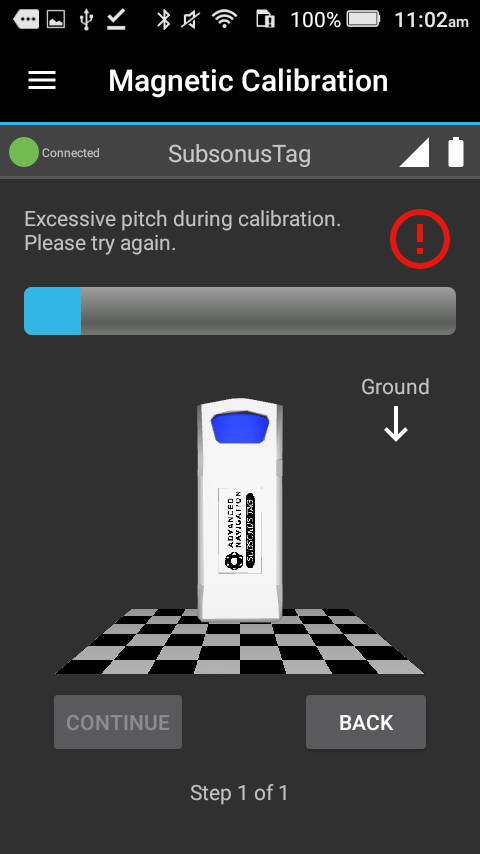
If an error occurs, as in 3D magnetic calibration error, then the step can be-run until successful. Each step may be retried as often as necessary, and no changes will be made until the final step is completed successfully.

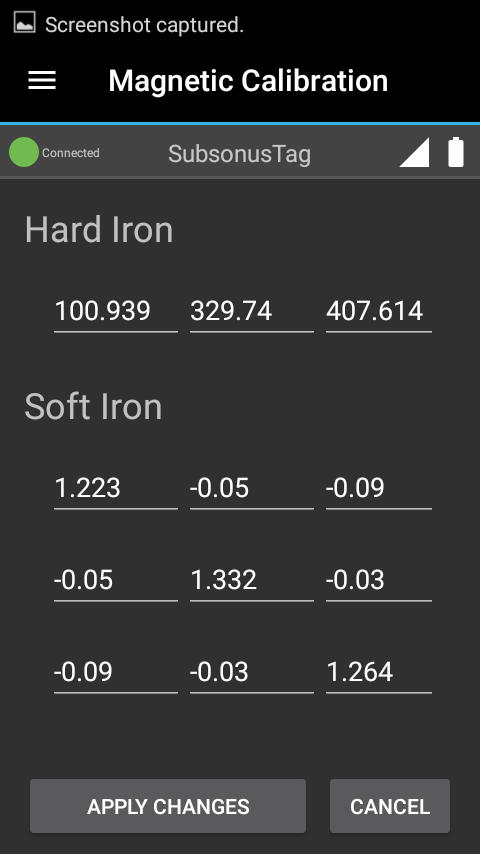
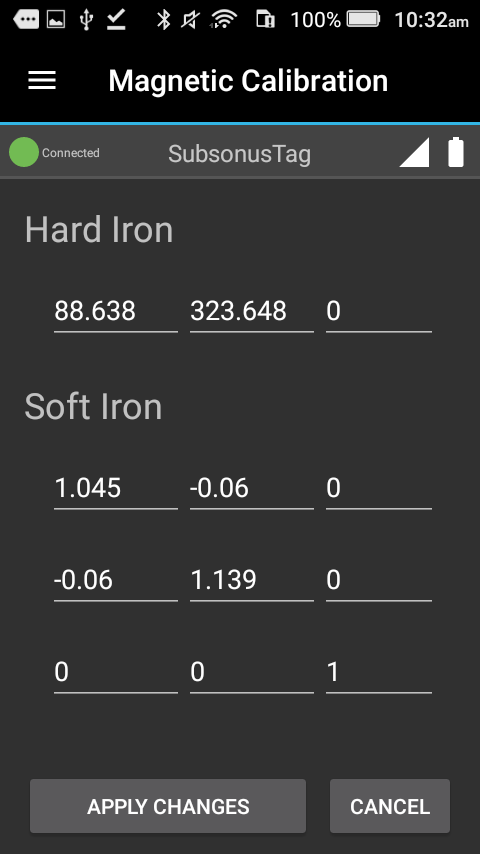
The new calibration values written to the Subsonus Tag may be viewed on the “View / Edit Calibration Values” page. Example values from a 3D calibration can be seen in 3D magnetic calibration example values. This is an example only and values will vary according to installation conditions.
Begin New 2D Magnetic Calibration
If Subsonus Tag is attached to a vehicle that cannot be rotated about all three axes, then a 2D calibration, rotating about only one axis, is supported.
The Calibration procedure will display how the Tag is to be rotated (2D magnetic calibration start). Press “Start” to begin.
A progress bar will be displayed (2D magnetic calibration ongoing). Continue to rotate until the calibration step completes (2D magnetic calibration finished). Press “Continue” to apply the calibration, the screen in 2D magnetic calibration applied will be displayed.
If an error occurs, as in 2D magnetic calibration error, then the step can be-run until successful. Each step may be retried as often as necessary, and no changes will be made until the final step is completed successfully.
The new calibration values written to the Subsonus Tag may be viewed on the “View / Edit Calibration Values” page. Example values from a 2D calibration can be seen in 2D magnetic calibration example values. This is an example only and values will vary according to installation conditions. All 2D calibrations will have the same 0s and 1s in the last row/column.

Restore Factory Defaults
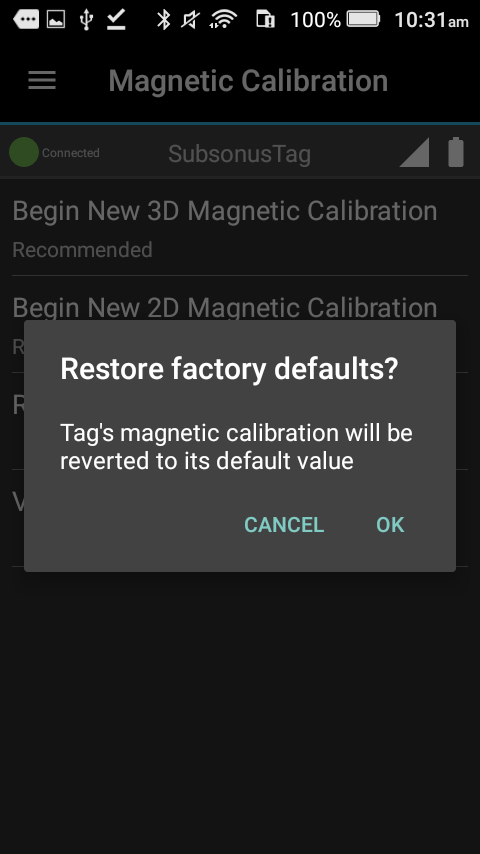
Permanently revert the unit’s current magnetic calibration values to their factory configuration. A pop-up will be displayed for confirmation, see Restore magnetic calibration factory defaults.
View / Edit Calibration Values
The current magnetic calibration values for the Subsonus Tag can be viewed to ensure that calibrations have been applied successfully. Modifying these values manually is not advised. This page can be seen in View / Edit magnetic calibration values.